Christmas is near. 21 days! I’m not one of these people that get excited in November… it is November afterall. But I do get excited in December. One of my favourite aspects of Christmas (other than spending time with the people I love—by far the most important part of the holiday) is wrapping presents. It’s odd, I know. Most people actually hate the wrapping process, but I love it. I also love searching for gifts I think will make people happy and have got a selection of gifts all ready to wrap up. Once I have the gift wrapped, I struggle not to give it to someone, I like seeing their reactions.
The challenge?
If you’ve followed my blog long enough, you know I only have the use of one hand, as this post on cooking a roast dinner demonstrates.
First advice though, before you buy your nice looking wrapping paper in a rush, make sure it’s not some weird cellophane that looks like wrapping paper because that happens… They happen to sell them in packs of 3 too! It’s something I did a few years back, thinking it was a wrapping paper and I still make sure its real paper now.
What you need
- Wrapping Paper / parcel wrap
- scissors
- sticky tape / sellotape
- the presents (the most important part)
What you need to do:
So how do you wrap christmas presents (or any other kind of present) with one hand? I made a video, but if you don’t want to watch the video, struggle to understand me and cannot see the subtitles, the instructions are below too.
Getting the wrapping paper ready
Place the wrapping paper on the floor or a table where there is plenty of room, especially if you have big gifts. Measure out the present. This is important and it is easier if you have gridded paper. Here is how I measure it out:
- I first see how high the sides have to be. If the present is boxed shape, the sides will be the same height throughout. In the video, the sides were 1.5 squares high, so I used 2 for simplicity.
- I then counted how many squares went long it was (7). So I knew I needed 11 squares down as the sides are 2 squares (7+2+2). I started to cut on the 11th Square line so I didn’t forget.
- Next, I needed to know how many squares across I needed. I already know the sides are 2 squares in height so I count the remaining squares, 4. That’s 6 across, I double it. That’s 12.
- I cut down the 12th grid line and finish cutting out the 11th grid line to measure out the present.
- Woo, the wrapping paper is ready!
Now it is time to wrap the present with one hand
For the video, I chose the book Some Luck. It is a gift I got my Nan. I chose this one for the video because my nan isn’t going to be reading my blog (she’s in her 90s and doesn’t have the internet), unlike other people I am getting presents for.
- To do this with one hand, I’ll need to get something like the scissors and put it on the thing that I am wrapping. How I do this is I hold the scissors and the paper together and then drop the scissors on the paper to keep the paper in place.
- Then you need to get the sellotape (don’t forget to mark where the end is). You’ll need something to grip it or hold it so you can get to the end. An end of a chair or table will do (although my chair and sellotape did not want to play ball in the video).
- You can use scissors or your teeth to get to the bit you need. With the bit of sellotape on your finger, carefully lift the corner of the paper up, stick a bit of the tape onto it and then join it with the other bit of the paper, slowly knocking your paper holder (scissors/ phone) out of the way.
- Once that bit is done, it makes everything else much easier. Make sure it’s not too loose because if it’s too lose it won’t work and come apart. Then we need more sellotape.
- First I hold it down with one hand and fold the corner. Then you get the rest of the sellotape and get the amount you need again I prefer to use my teeth. Pull the paper up as tight as possible and then that’s that corner done.
- Again fold the corner as best you can. Get some more Sellotape make sure it doesn’t stick to anything else while you’re doing so. Get the next corner like you did before And that’s how you wrap the present


Tagging the present

- Tags for presents have annoying strings. I prefer to take the strings out of the tags to avoid a mess. Try and get the tags in a position where you can pull it out is easily as you can.
- Now the string is gone, stick the tag down with a bit of Sellotape And then you can write your message onto it after you’ve stuck it down.
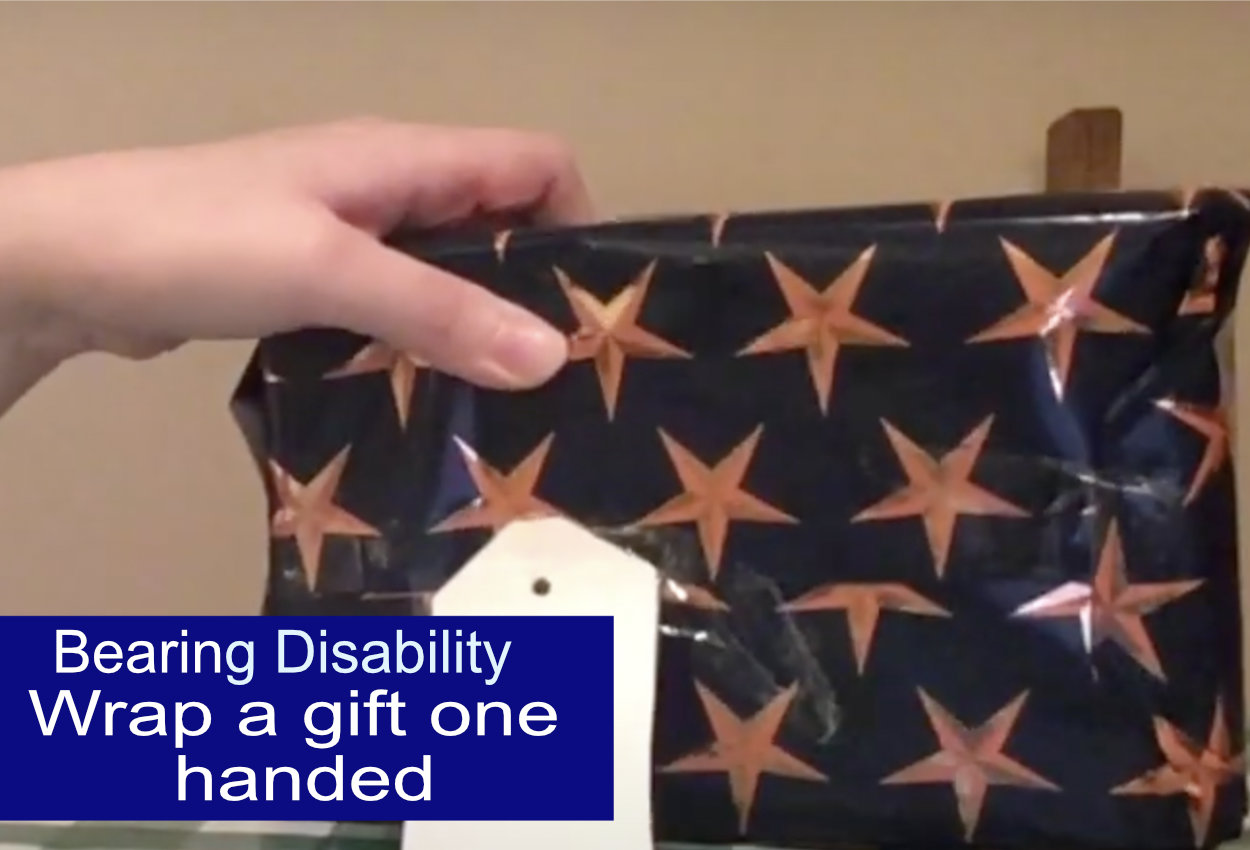
The result:

There’s the present not too tight but not too loose. With each corner done. That’s all there is to it and it’s the same process if you’ve got something bigger. An item that’s a different shape can be harder to do with one hand but something that is boxed shape is easier.
Thanks for reading or watching and I hope you have a lovely holiday or holidays and just enjoy yourself. I’d like to thank my friend @sophieabel96 for helping me transcribe the video so that you have a transcript to if you prefer reading the content or my speech impediment mixed with my Brummie made it hard for you to understand what I was saying.
Anyway, I hope you find this helpful. And do feel free to look at my other content too! See you next week. I have another present or two to wrap up until then!
Thank you for this post – your wrapping is so neat, much neater than mine >< Anything that isn’t a perfect cube gets wrapped in tissue paper and put in a gift bag, as it just looks mangled when I do it.
I love wrapping, boxes are easier than other shapes, and I wrapped up vinyls for birthday / fathers day this year. They’re so thin it’s hard to do those. I’ve wrapped up odd shapes similar to the boxes and don’t mind those. I accidently did a neat snowglobe once and was chuffed! tissue paper and bag is definitely a great option though, the bag is reusable.
Oh for sure! I may or may not have a stash of preloved gift bags in our bedroom…..
I think we ran out but no doubt I’ll get some more soon!